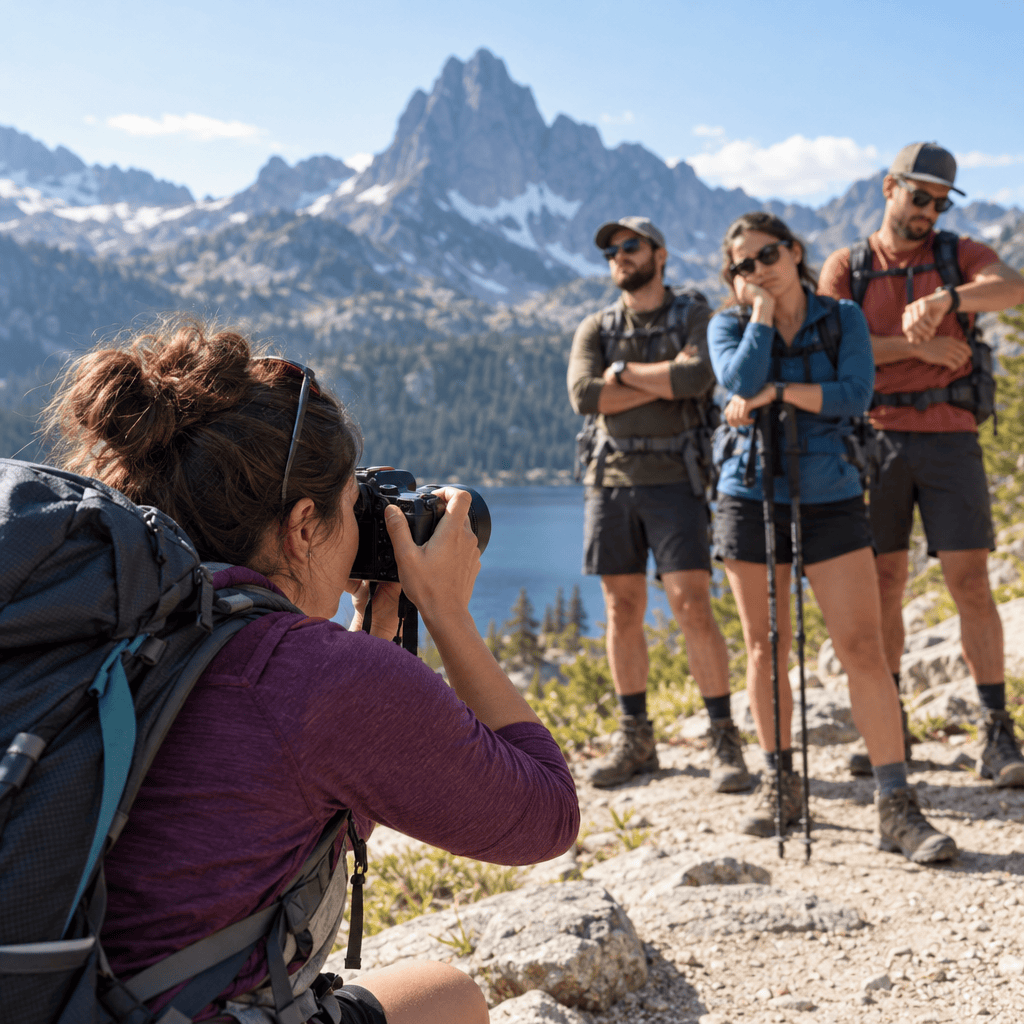
You know the sound. It’s the small sigh from somewhere ahead of you on the trail, and it comes about four seconds after you’ve stopped, slipped off your pack and started digging for your camera while three friends stand in the sun.
If you’ve caught yourself thinking “my hiking group is annoyed by my photo stops”, I’d guess you’ve already tried shooting less. That probably felt worse, because you came home with a card full of water-break photos and none of the moments you actually wanted.
It took me a long time to see where the waiting actually comes from. Pressing the shutter takes a fraction of a second, so the minutes your friends spend standing around are going somewhere else, and once you know where, you can get most of them back.
These hiking photography tips start with three things you can do before you leave the trailhead: keep your camera within reach, choose one lens, and save two presets.
Where the waiting time really goes
Epic Expeditions’ guide to hiking with camera gear shares a rule I think about on every hike. If a photo takes more than ten seconds to get, you won’t take it, and hikers who can only reach their camera at water breaks miss about 90% of the shots they would have liked.
That number explains a lot, because it shows your group is waiting on the getting ready. That means taking off the pack, finding the camera, changing a lens, and then fiddling through menus because the settings are still left over from yesterday’s sunset.
Each of those steps can be removed or shortened before you leave the car park. Once they are gone, getting good shots without stopping the whole group becomes a habit you build, and the few proper stops you do want can be agreed up front.
The order you tackle them in matters, so fix where the camera lives first, then the lens, then the settings. Save the conversation with your group for last, since by then you’ll be asking for much less of their time.
Move the camera to your front
The biggest single change you can make is moving the camera off your back and onto your chest, where your hand can find it without your eyes.
In Lily Tang’s guide to ultralight backpacking camera gear, she describes how she unclips and re-clips her camera on a Peak Design Capture Clip while still walking, without looking down.
With her old 5 lb full-frame kit she barely used her 70-200mm, because reaching it meant taking off her pack.
She also noticed something you’ll feel on your first long day. Weight hanging on a shoulder strap feels very different from the same weight packed inside the bag, so a camera that seems light in the shop can start to nag by mile eight.
The clip
The clip is the fastest option, and it’s usually the first thing people buy. That said, it has problems that only show up after a lot of miles.
Erin, who has hiked more than 6,500 trail miles, gave up on the Capture Clip in the end. With a heavier camera it dug into her collarbone, and it left the camera open to rain and scratches.
She also found that the clamping pressure could damage the pack’s shoulder straps over time, which matters if you love your pack.
One tip from a camera forum helped me more than any product page. Practise taking the camera off and putting it back at home, many times, and try sliding the clip a few inches up or down the strap, because small changes in height change how easily it releases.
The pod
Erin switched to a waterproof pod that mounts on the shoulder strap, the HMG Camera Pod. It keeps the camera dry and padded while still sitting on your front, so access stays quick.
The limit is size, since it fits one body and one lens and nothing else.
The carabiner
The cheapest version costs almost nothing. One hiker on the John Muir Trail clips the camera strap to a carabiner on the top of the pack’s shoulder strap, so the pack carries the weight and his neck gets a rest.
He then lets the sternum strap pin the camera against his chest, which means it barely bounces.
There is one catch you have to train yourself to remember. You must unclip the camera before you take the pack off, or it swings straight into your neck.
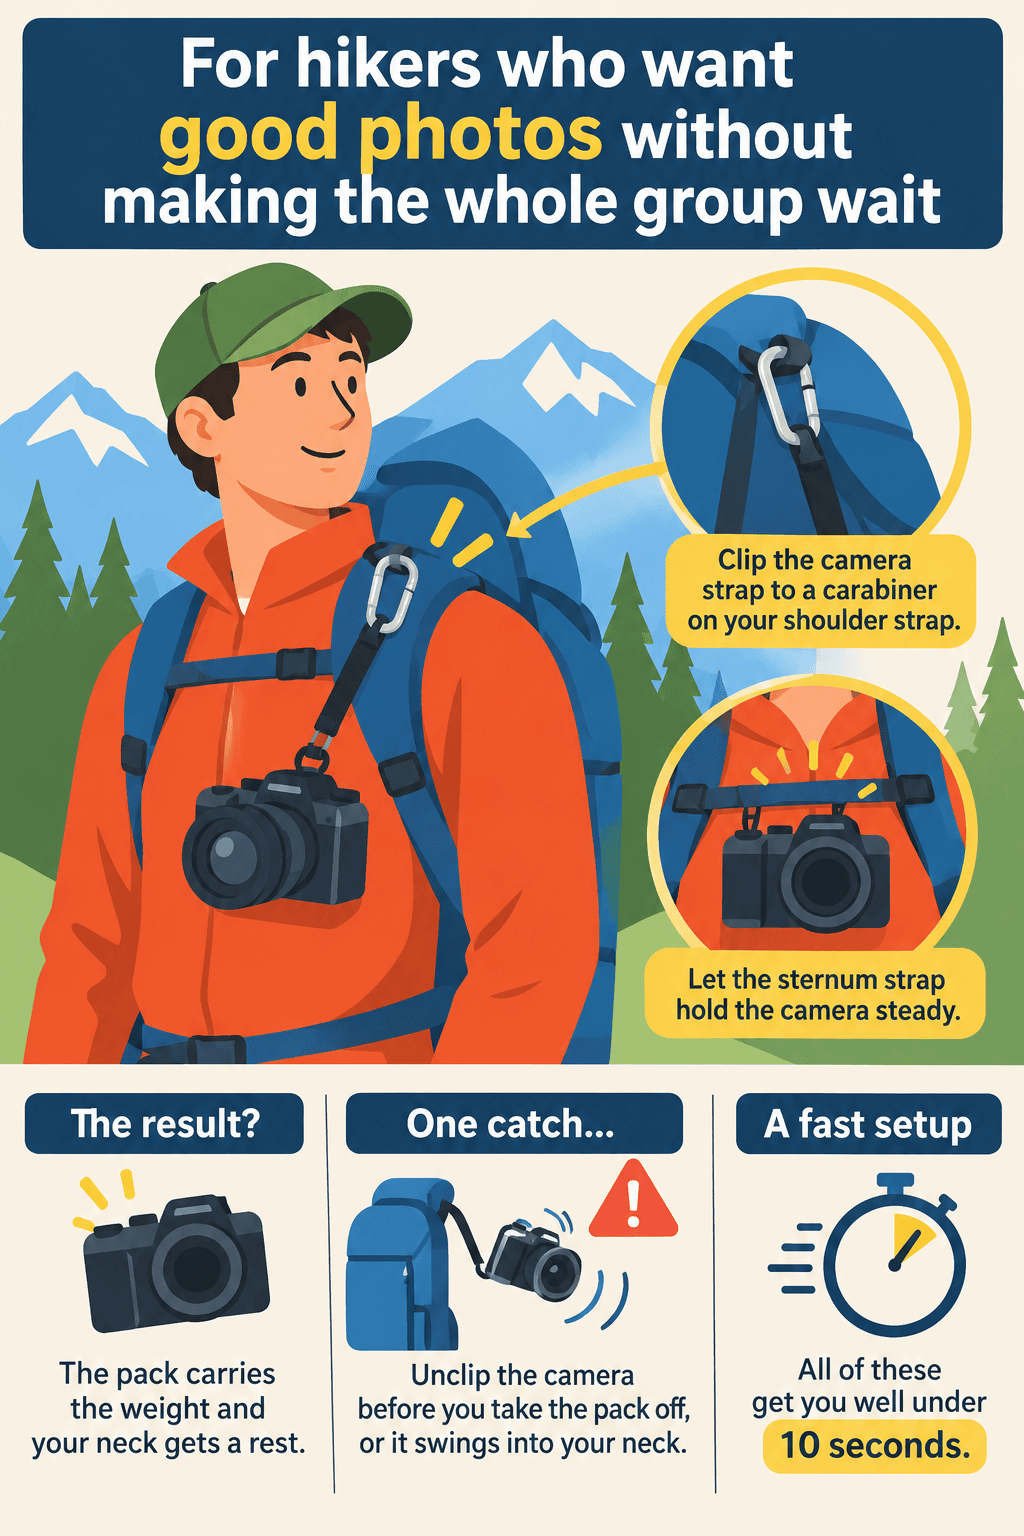
Any of these gets you well under the ten-second mark. Which one suits you depends on how heavy your camera is, and that brings us to the bag that probably started all this.
Why your sling bag hurts your shoulder on the trail
Slings feel like the answer the first time you try one, because you swing the bag round and the camera is right there.
One camera bag maker timed it at 2.3 seconds for a sling against 6.8 seconds for a backpack, and said its keeper rate rose from 31% to 58%. Those are a seller’s numbers about its own kind of product, so I’d read them as a rough sense of the gap.
The same company was frank about where slings go wrong. It said a loose sling is worse than a backpack, and it recommends keeping the bag to about 8 to 12 litres with a waist strap to stop the swing, and avoiding anything 15 litres or bigger.
Photographers who have lived with slings say much the same in their own words. One forum poster found they “get very uncomfortable after a while, especially if they’re heavy.”
Another walker found a Lowepro sling comfortable enough but a pain to get into on two- or three-hour walks.
Taken together, those stories point the same way. A small, tight sling holding one body and one lens works for a lot of people, and once you add a second lens and a rain jacket, all that weight hangs off one shoulder, which is why it aches by the afternoon.
Adventure Alan, who writes about backpacking cameras, gives a useful ceiling. He keeps camera plus lens to about 24 ounces for all-day carry on a shoulder strap, or about 30 ounces if the kit is weather-sealed and he can stop worrying about rain.
If your setup is heavier than that, move it onto your pack’s harness with one of the mounts above and let your hips do the work. That still leaves the question of how to get your kit down to one lens in the first place.
One lens that covers the ridge and the marmot
I hear this story often. You only brought a telephoto lens and missed the landscape, the whole valley opening below you, because the widest you could go was 70mm.
Epic Expeditions recommends one weather-sealed 24-105mm f/4 type zoom for about 90% of hikers. It goes wide enough for the big view and long enough to stack distant ridges on top of each other.
They call a 70-200mm usually not worth carrying unless you’re out for wildlife.
I agree with them for most people, and the weight sums agree too. A body with a compact 24-105 type zoom can come in near Alan’s limit, whereas a body with a 70-200mm usually sits well over it, which pushes you straight back into the pack.
Alan adds a warning about where to spend your money. Many cheap kit zooms resolve only 6 to 9 perceptual megapixels on a 24 megapixel sensor, so one sharp lens will give you more than a bag of soft ones.
That said, the long-lens side has a good point. Lily Tang carries a 369 gram 50-230mm and uses it for landscapes too, and when there’s no good foreground for a wide shot she picks out lines and layers in the distance.
So if you’re stuck with the telephoto, find the one shape that caught your eye and fill the frame with it, whether that’s a ridge line or light falling across a far slope. It often makes a stronger picture than a wide frame full of empty grass.
And if you do want a second lens, do what Tang does and keep a small one in a hip pack where your hand can reach it. A lens buried in the main pack might as well have stayed at home, because you won’t stop to dig it out.
If you’re still deciding what earns a spot in your pack, start with this lightweight hiking photography gear guide.
Once the lens is settled, the next thing slowing you down is the menu, and that one you can fix before you even lock the car.
Two presets you set at the trailhead
Most cameras let you save your settings to a custom mode or two. I set up two before every hike, one for landscapes and one for animals, so I never change a setting while the light or the animal is slipping away.
The landscape preset
The standard landscape advice from photographers like Paul Farace is aperture priority, ISO 100, f/8 to f/11 and single-point autofocus. Others push to f/16 and the lowest ISO, which works well with a tripod.
You’re holding the camera, though, and probably a little out of breath, so ISO 100 at f/16 in the shade of a forest will often give you a slow shutter and a shaky picture.
I set f/8, turn on Auto ISO, and give it a minimum shutter speed of around 1/250 with a standard zoom. That way the camera raises the ISO before it lets the shutter get slow.
The animal preset
For animals I use manual mode with Auto ISO, or shutter priority if your camera handles that better, and set the shutter by a simple rule.
A high-resolution body of around 36 megapixels needs roughly one over twice the focal length, which works out at about 1/600 at 300mm.
The setting that causes the most mystery blur is the Auto ISO ceiling. If it’s capped at something low like 400, the camera quietly drops the shutter speed in dim light, so raise the ceiling to 6400 or higher.
You can clean up noise afterwards on the computer, whereas a blurry photo stays blurry however long you work on it.
Then there’s aperture. Wildeye’s first tip for wildlife is to shoot wide open, and yet Parker, a professional with 30 years behind him, got a creamier background on a dragonfly at f/8 from 5 to 7 feet away than at f/5.6 from 50 to 60 feet.
His conclusion is that distance to the subject affects depth of field more than aperture does. On the move, the extra depth at f/8 hides small focus misses, and the soft background comes from getting closer whenever the animal lets you.
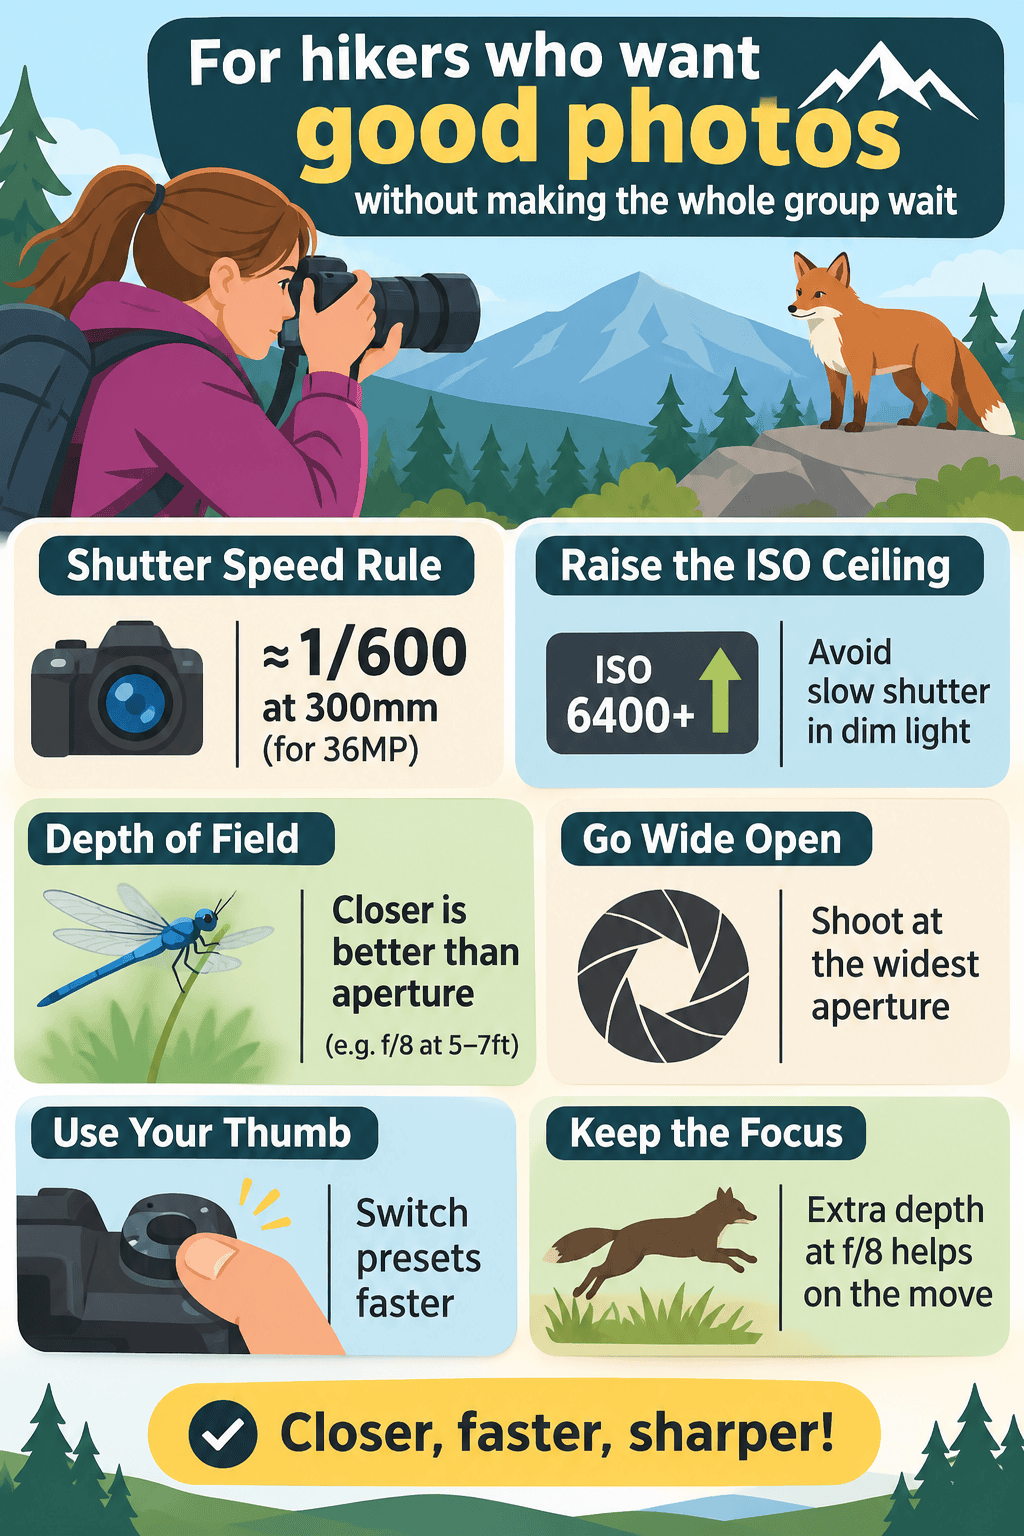
Two presets on the dial is a great start, but turning the dial still takes a moment, and a fox won’t wait for it. Your thumb can do the switching faster.
Switch between them with your thumb
Back-button focus takes autofocus off the shutter button and puts it on a button under your thumb, usually labelled AF-ON. With continuous autofocus set, holding that button tracks a moving subject, and letting go locks focus where it is.
That one change covers most of the gap between your two presets. For a landscape, you press once on your point and let go, then recompose and shoot, and for a deer stepping out of the trees you hold the button and the camera follows.
Some cameras let you go further. On Sony bodies you can assign “Track Recog Off on Hold” to a key, which forces spot focus for as long as you hold it, so you can jump from tracking to precise single-point focus without opening anything.
Moving animals still test any setup, so it helps to know what good looks like. Mike Hagen photographed puffins over bright, contrasty grass and found that focus kept jumping to the background.
The experienced shooters with him settled on single-area AF, continuous focus, tracking delay set to Long, and starting to track while the bird was still far away. Even with all that, they got about one sharp frame in three or four.
So if a third of your animal shots come out sharp, you’re doing fine, and a short burst is the sensible answer.
One more setting earns its place on the trail. A focus limiter on the lens, set to something like 4 metres to infinity, stops it racking back and forth onto the twigs right in front of you.
If your camera keeps locking onto foreground twigs, here’s how to keep autofocus on the bird.
With all this in place you’ll be shooting in a few seconds and walking again. There will still be views you want to give proper time to, and those need a word with your group.
Make the deal with your group before you start
The resentment usually comes from not knowing. Your friends can’t tell if you’ll be thirty seconds or ten minutes, so they stand there, and every stop feels longer than it is.
Urritrek, a trekking company in Costa Rica, suggests agreeing on a few key photo stops each day, at about ten minutes each at most.
Look at the map over breakfast, pick the viewpoint and the lake, and say out loud that you’ll want some time at both.
For everything else, drop a pin on an offline map or record a quick voice memo and keep walking. Plenty of those spots will be on the way back, often in better light.
Hikers on Reddit have one more complaint, and it’s an easy fix. The worst offenders stop in the middle of the track so everyone has to squeeze past, and their advice is to “just take one step sideways.”
When you open the day with this deal, the group stops bracing for your camera. They know when they’ll wait and for how long, and for the rest of the day the camera mostly comes up and goes down while you’re all still moving.
And the next time you hear a sigh on the trail, it will probably be someone else stopping to tie a shoe.
Start with the camera and lens you already own. If getting them out of your pack is what holds up the group, a clip, pod, or small sling may be the only change you need. I’ve gathered the gear mentioned in this guide below so you can compare what fits your setup. Some links are affiliate links. As an Amazon Associate I earn from qualifying purchases.