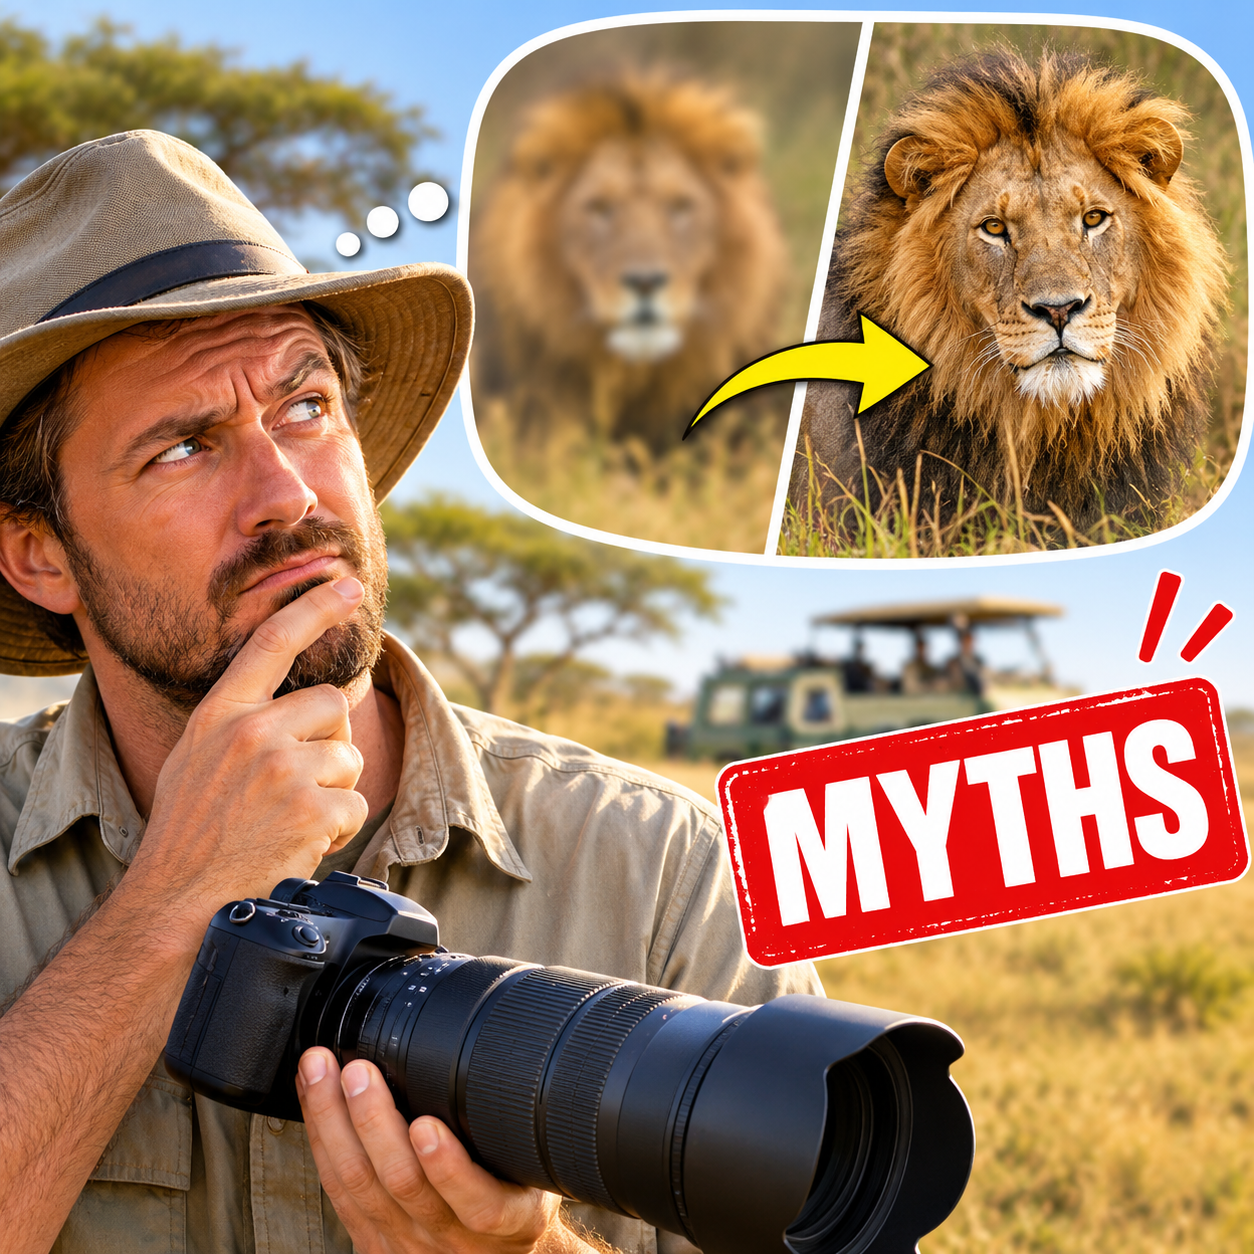
A lion can fill half your frame and still look soft, even with a lens long enough to show every whisker. Before you spend money on more reach, it helps to find out where that detail went.
Alex Berger spent nine days photographing a Tanzanian safari with a $200 Sigma 70-300mm on a full-frame Canon 6D and came home pleased with the results. Distant leopards tested his reach, while many other encounters were close enough that a much longer lens would have made framing awkward.
His setup came with advantages worth keeping in view. He had a private vehicle and an experienced guide, along with time at sightings, and he disclosed a discounted safari partnership.
That experience gives you a useful starting point if you have been searching “my safari photos are blurry 70-300” while looking at rental prices. A modest zoom can deliver satisfying safari photographs, provided you work out what happened between the animal and the sensor.
Camera movement and heat-distorted air deserve a close look. So do focus errors and slow shutter speeds, although the available accounts give us no reliable count of which cause produces the most safari misses.
Before you decide that 300mm failed you, check whether the animal was too small in the frame or whether the detail you captured was smeared. That distinction will help you decide where your money can make a difference.
Myth 1. Soft photos mean 300mm was too short
A small animal in a sharp photograph can look disappointing when you crop hard. You have spread a limited number of pixels across a larger view, so fur loses texture and edges look rough.
That is a genuine reason to want more reach. A distant leopard tucked into branches may leave you with too little detail, even when your technique is sound. If you regularly face that situation, consider whether to rent a longer lens before buying one.
First, inspect something at roughly the animal’s distance. If nearby bark is crisp and the leopard is tiny, reach may be your main limit; if the whole area looks wobbly, look into what is softening the view before adding magnification.
A 70-300mm can cover many close encounters with large mammals, while small birds can make 500mm or 600mm genuinely useful. Your route matters too, because habitat and vehicle access shape the distance you can work from.
A lens that suits close elephant sightings may feel short when you are watching a small cat across an open plain.
A super-telephoto earns its place by making tighter photographs at workable distances. Every extra stretch of air between you and the animal gives atmospheric distortion more room to affect detail.
A longer lens magnifies the view through that air, including its defects. Heated ground along your line of sight can soften the image at either focal length.
Photographing on safari without a huge lens also gives you room to include habitat. An elephant beneath a spreading tree can make a stronger photograph than a heavily cropped head, especially when the setting explains something about the animal’s life.
I would keep that wider composition available even when carrying a longer lens. Once you know the subject is large enough for the picture you want, the next place to look is the vehicle supporting your camera.
Myth 2. A parked safari vehicle gives you a steady, clear view
A vehicle can be stationary while your camera is still moving. An idling engine sends vibration through the bodywork, and someone shifting in a seat can move the support under your lens.
At 300mm, small movements become easier to see. A compact beanbag such as the LensCoat LensSack Jr (see below) can give your 70-300mm lens a steadier resting place on the vehicle window. It may reduce movement from your hands, but it cannot remove vibration from an idling engine or heat shimmer in the air.
When your guide says it is safe and practical, compare a short burst with the engine running against another after it has stopped and everyone has settled. Keep your framing and exposure settings similar so the comparison tells you something useful.
This field test changes one likely cause while you still have the animal in view. After the engine stops, heat from the vehicle can take longer to fade.
Heat from vehicle surfaces can distort the light reaching your lens. Air at different temperatures has different refractive properties, so mixing air can bend the view unevenly and soften fine detail.
This can happen when warm cabin air escapes through a window into colder surroundings, as well as around a recently running vehicle. If you suspect heat from your vehicle is ruining wildlife shots, check whether you are looking over the bonnet or through rising engine heat.
An engine that has just stopped remains warm. With your guide’s approval, compare a sightline clear of hot metal once vibration has settled.
Climate control deserves attention when it creates a strong temperature difference between the cabin and outside air. Warm air escaping into cold surroundings can disturb the view; how often air conditioning causes safari softness remains uncertain.
If conditions and your guide allow, switch climate control off and let cabin air approach the outdoor temperature. Keep your lens clear of the stream of air leaving the window, and stay inside the vehicle throughout the check.
Warm air can also sit temporarily inside a lens hood when warm equipment enters cold surroundings. Letting equipment adjust, or briefly removing the hood to improve airflow, can help in those conditions; keep the hood available for its usual protection against stray light.
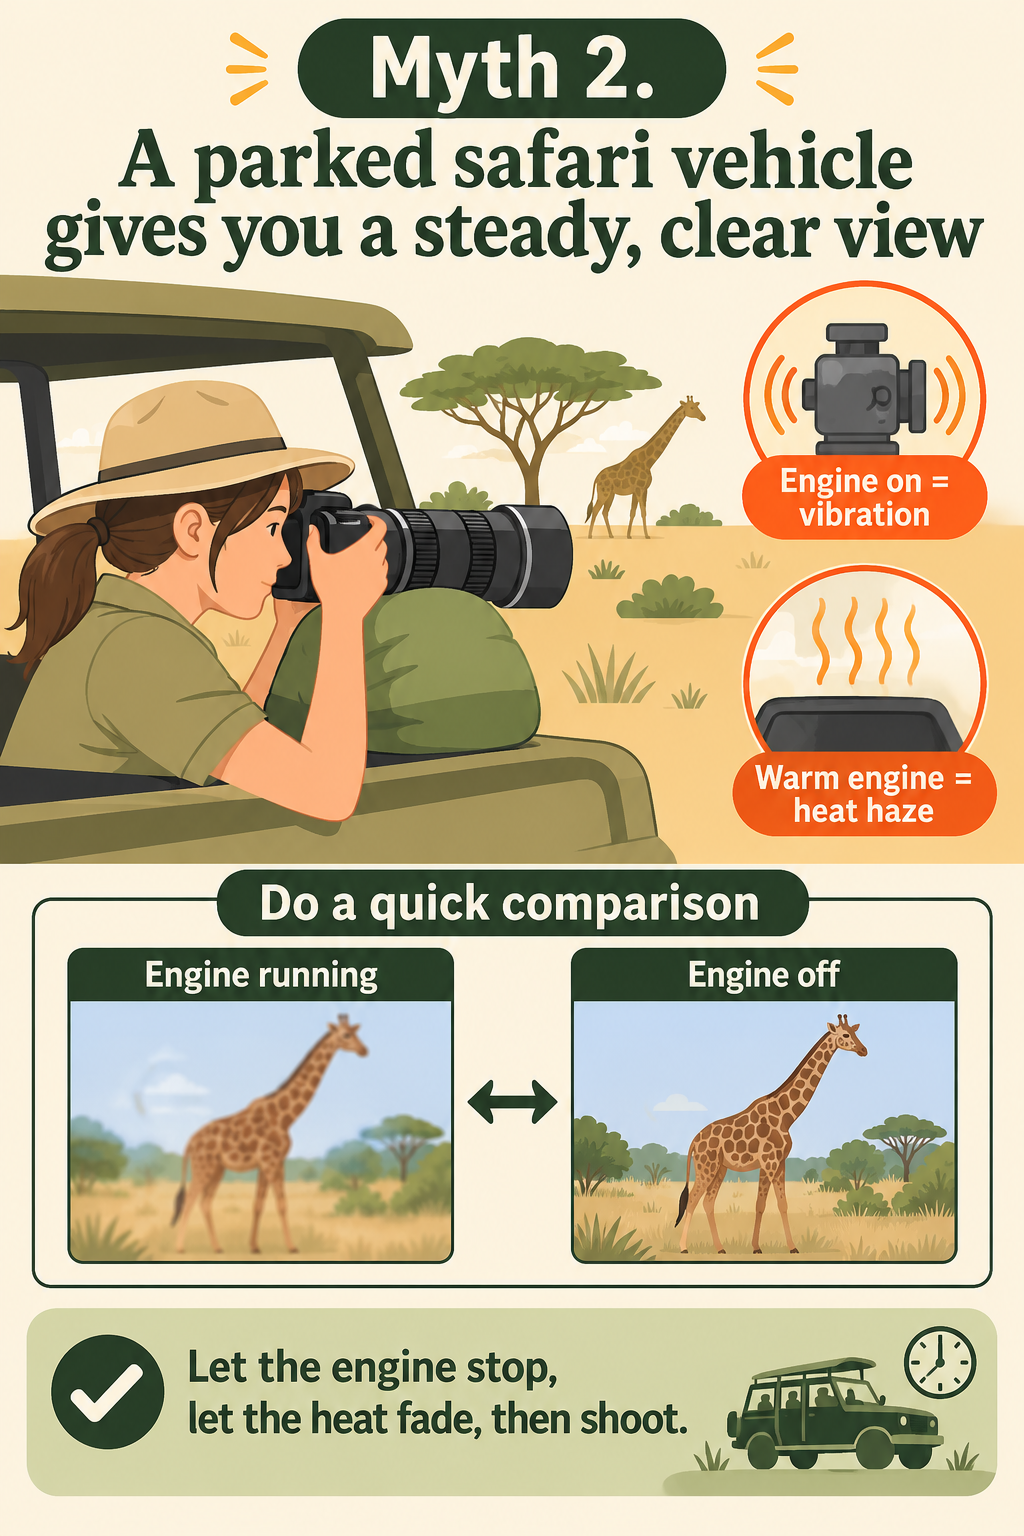
The vehicle can affect both camera movement and the air in front of the lens. A faster exposure helps you test for movement, so it is worth checking shutter speed before changing anything else.
Myth 3. A faster shutter fixes every kind of blur
Your shutter has to account for movement by the animal and movement by the camera. Stabilisation can reduce some camera shake, while an animal’s moving head still needs an exposure short enough to hold its detail.
A resting lion can flick an ear or turn towards a sound during a slow exposure. Meanwhile, the photographer beside you may lean forward just as you press the shutter.
For a practical daylight test at 300mm, try around 1/1000 second and inspect the result. Adjust from there, because a still subject on a settled support may allow a slower exposure, while sudden action can demand more speed. For a field example, see how to get a clean coyote photo before it runs.
A setting of at least 1/1000 second is also a useful starting point for fast-moving animals around 600mm. The speed you need depends on the movement and focal length, as well as how steadily you can hold the camera.
Manual exposure with Auto ISO is useful here if your camera supports it. Once you have chosen an aperture that gives enough depth of field and a shutter speed suited to the movement, let ISO respond as the light changes.
Check exposure as well, especially with a bright sky behind the animal. Auto ISO operates within your camera’s limits, so watch what happens when the available light falls and your chosen settings become demanding.
I would accept some extra noise to keep an eye sharp when movement is the problem. You can reduce noise later, while a smeared eye gives you much less useful detail to work with.
Heat shimmer complicates the relationship between speed and sharpness. A short exposure may catch a moment when a shifting edge looks less warped, yet the light reaching your camera can still be distorted.
Field reports differ on how much faster exposures help the visible warbling. When extra shutter speed leaves the same fuzzy detail, try to improve the air path.
Look through magnified live view at a distant branch or the animal’s outline. Rippling edges suggest temperature-driven distortion, especially across sun-warmed ground; moisture or dust haze more often reduces contrast across the scene.
Changing your viewing angle to avoid heated roads or sand can help, as can photographing around sunrise before the ground warms strongly. Ask your guide about a clearer sightline, with the animal’s welfare and park rules governing any move.
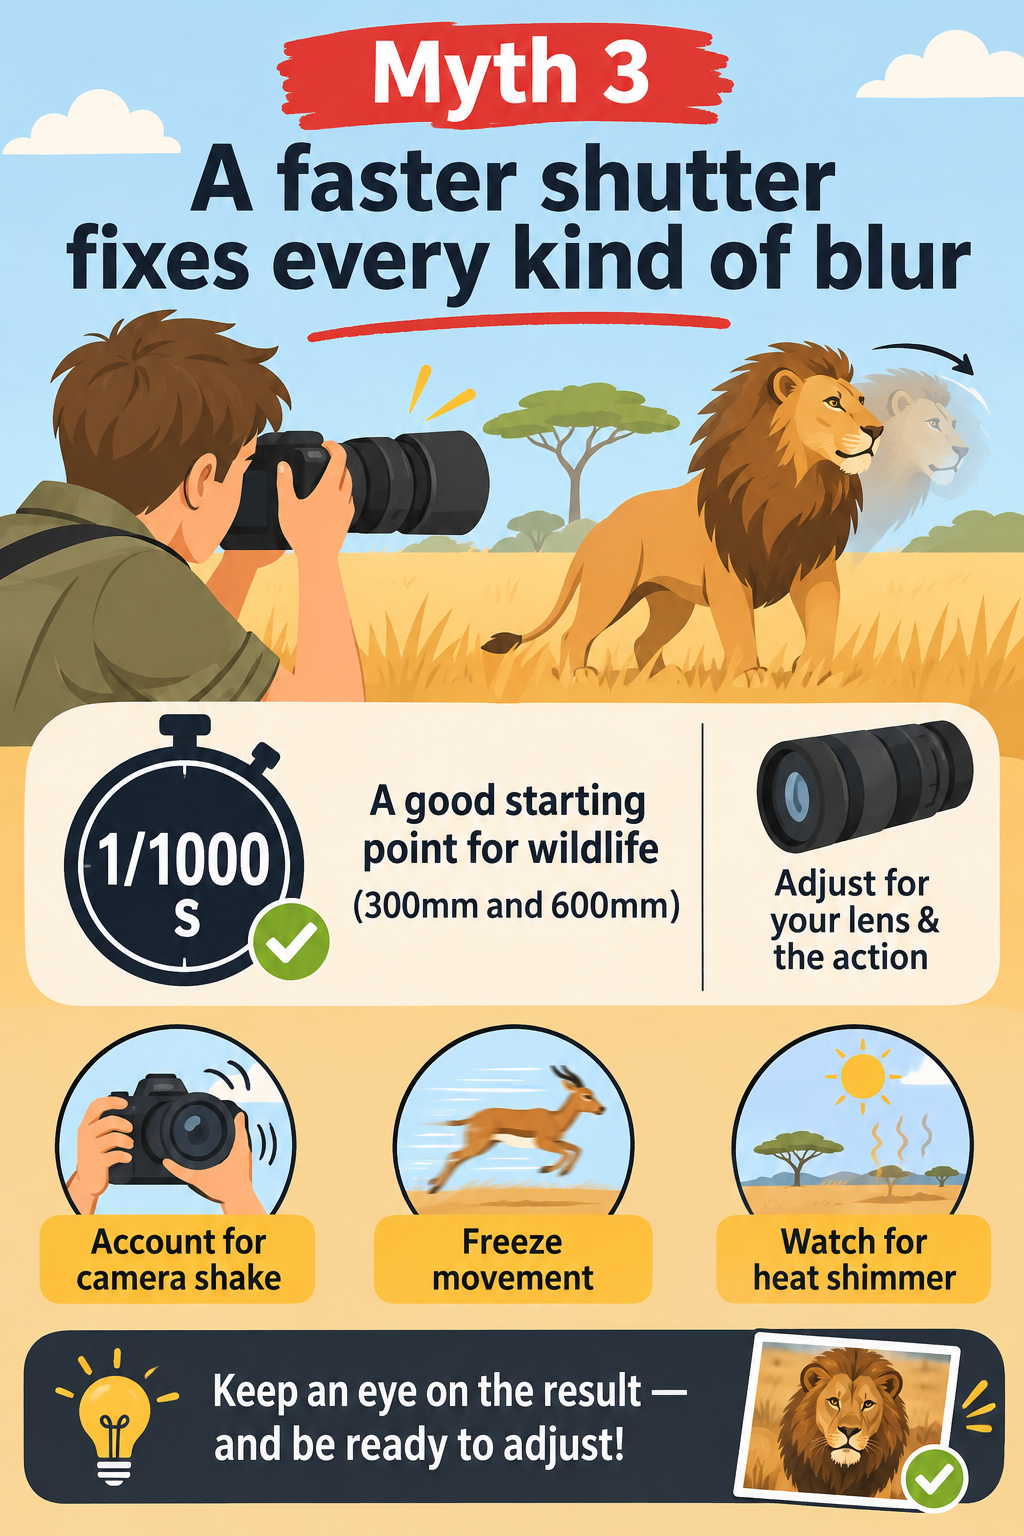
If the air is steadier and a faster shutter brings back detail, you have a useful answer. When softness survives those checks, a controlled test can show what your particular zoom can resolve.
Myth 4. A budget 70-300mm is unusable at full zoom
Consumer zooms have real optical limits, and some lose contrast or fine detail near their longest setting. The amount varies between models, so test your own lens before deciding how far you can trust it at 300mm.
For the Nikon 70-300mm f/4.5-5.6 VR, f/8 at 300mm is a sensible setting to try when there is enough light. That is a starting point for testing a specific model, and other zooms may respond differently.
Before the trip, compare full aperture with a modestly smaller aperture on your own zoom. Use a stationary, detailed subject at a realistic wildlife distance, with clear air and accurate focus, and keep shutter speed high enough to control movement.
Repeat each setting so one lucky sharp frame does not decide the result. Keep your support and subject distance consistent, then compare the same patch of detail at the same viewing size.
Watch the exposure cost of stopping down. Moving from f/5.6 to f/8 needs roughly twice the ISO to preserve shutter speed under the same light, so an optical gain can come with a noisier file.
If your camera lowers shutter speed instead, the change may introduce motion blur. That trade-off makes “always use f/8” poor safari guidance even for a lens that performs well there.
Also compare 300mm with a slightly shorter setting, then crop the shorter frame to a similar view. Judge the detail at your intended output size, because a tiny difference at extreme magnification may have little effect on a print.
Accurate focus needs its own check. A sharp shoulder beside a soft eye suggests that the focus plane or available depth of field deserves attention, particularly when you are close to a large animal.
A clear-air test tells you what the lens can do under controlled conditions. With that reference in mind, you can check your next safari photograph while there is still time to improve it.
At the next sighting, check the file before you spend
If you are still asking “why are my safari photos blurry”, use your next sighting for a calm comparison. Keep enough attention on the animal to enjoy the encounter, while checking a few frames early enough to change the outcome.
Inspect detail and confirm focus
A small rear display can hide slight movement and atmospheric interference. Focus errors can be hard to spot too, so magnify playback around the eye or another detail that matters to your composition.
Look for where the sharpest detail actually falls. If grass behind the animal is clearer than its face, check where your autofocus landed, then place your focus area more carefully and take another frame before changing the lens settings.
Compare shutter speed and support
Raise shutter speed while keeping the aperture similar, allowing ISO to rise if needed. Inspect another short burst, because a clear improvement points you towards motion as at least part of the problem.
Next, ask whether the engine can be stopped and give movement in the vehicle time to settle. Change one thing at a time where the sighting allows, so you can carry the lesson into the next encounter.
Read the air between you and the animal
If detail stays smeared, inspect distant edges for shimmer and check the surfaces beneath your sightline. A view across a hot bonnet or sun-baked road deserves a different angle if your guide can provide one safely.
Keep your expectations realistic about editing. Mild heat-related softness may look better with sharpening, while stronger distortion leaves detail that software sharpening cannot accurately recover.
Once you have a sharply focused, steady photograph through clear air, judge whether the animal occupies enough of the frame. Consistently needing heavy crops for your chosen subjects is a sound reason to consider a longer lens.
By then, you will know where your 70-300mm reaches its limits and which problems you can solve in the vehicle. That makes it easier to spend with confidence and get useful detail from whichever lens you take on your next safari.
If you want a steadier place to rest your lens in a safari vehicle, the LensCoat LensSack Jr is a compact beanbag to consider. It may reduce movement from your hands, but it cannot fix missed focus, engine vibration, or heat shimmer. The Amazon link below is a paid affiliate link. As an Amazon Associate I earn from qualifying purchases.

- heavy-duty water-resistant Codura
- non-slip grip material on the full length of the bottom surface (not just small sections)
- adjustable securing strap / carry handle