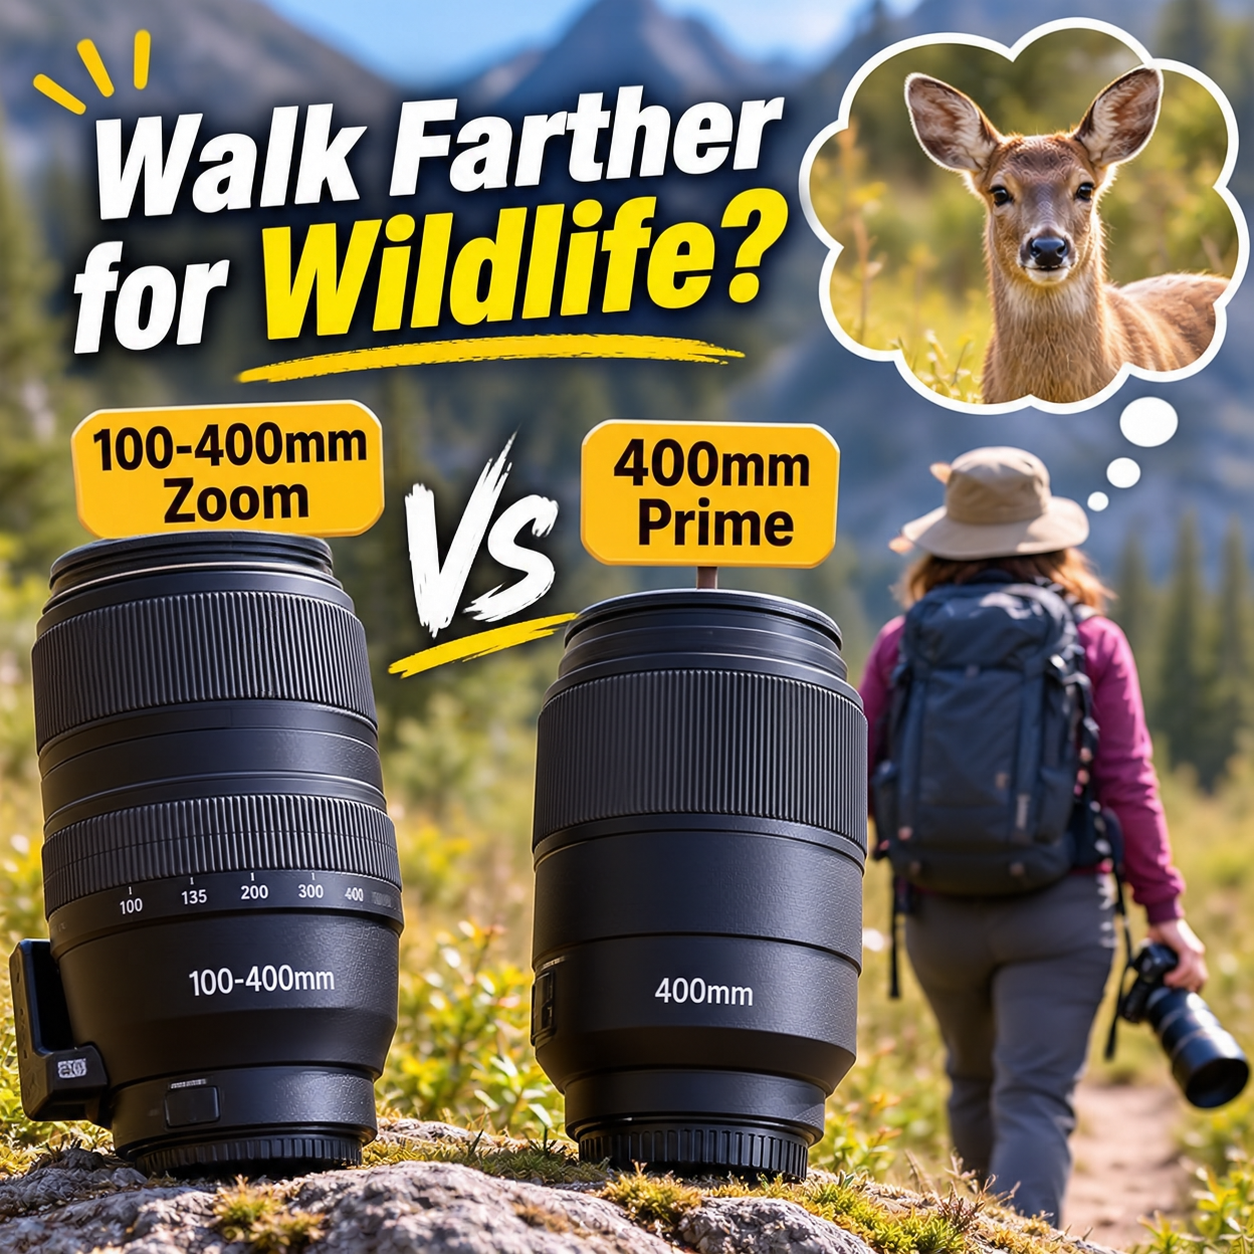
The lens you buy can change how far you walk and how long your camera stays ready. If its weight makes you turn back early or pack up before the birds get active, that cost belongs in the buying decision alongside sharpness.
For trail wildlife, I would start with a 100-400mm zoom unless a specific 400mm prime solves a problem you already have. Some primes weigh less than the zooms you might compare them with, so the choice depends on the exact lenses.
Your photo library can help you choose, but it leaves out the encounters you missed. Those missing photographs deserve a place in the decision too, especially when an animal comes closer than you expected.
Which lens will you carry ready to shoot?
When you weigh using a 100-400 vs a prime for wildlife, include the camera and your carrying system. A comfortable lens on a shop counter can become a nuisance once it hangs from your shoulder on a steep path.
You also need to separate carrying a camera from having it ready. A light setup inside a zipped pack can miss a deer crossing just as completely as a heavy lens left at home.
I would judge both candidates on an ordinary walk, including the return leg when you are tired. Notice when you start supporting the lens with your hand, and whether you keep putting the camera away because it gets in the way.
Balance and strap placement can change how a setup feels, so a poor first outing may call for a different carrying method. Give yourself time to adjust it before deciding that the weight is too much.
Some familiar 400mm primes are lighter than the zooms people buy to replace them. Put the full model names side by side before deciding which one will be easier to carry.
Compare actual lenses and generations
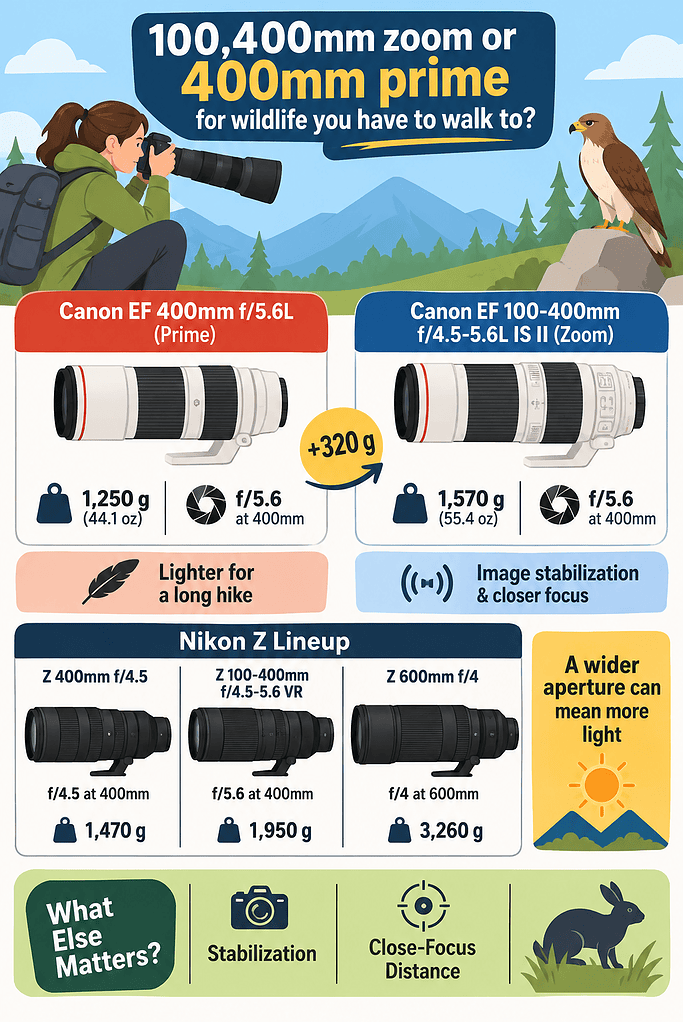
Canon’s EF 400mm f/5.6L weighs about 1,250g, or 44.1 ounces. The EF 100-400mm f/4.5-5.6L IS II weighs about 1,570g, or 55.4 ounces, so choosing that zoom adds roughly 320g.
Both offer f/5.6 at 400mm. In this pairing, the prime saves weight, while the zoom brings image stabilization and a much shorter minimum focus distance.
Wildlife photographer Stephen Dennstedt, who used both extensively, found the prime easy to handhold through a day. He still accepted the zoom’s extra weight because its flexibility suited the animals he encountered.
You could happily choose the older prime for a walk devoted to distant birds, then prefer the zoom for a route where a small animal might appear beside the path.
The Nikon Z pairing changes the calculation. The Z 400mm f/4.5 offers a wider maximum aperture than the Z 100-400mm f/4.5-5.6 VR at 400mm, giving the prime a light-gathering advantage.
Maximum aperture helps explain why the word “prime” tells you so little about carrying weight. Nikon’s Z 600mm f/4 weighs about 3,260g, while the Z 600mm f/6.3 weighs about 1,470g.
The Z 180-600mm zoom sits between them at about 1,950g. A large f/2.8 or f/4 specialist deserves a separate carrying decision from a moderate-aperture prime.
Write down each candidate’s full name, including its generation, then compare aperture at 400mm and weight. Follow that with stabilization and close-focus ability, because those details can decide which encounters you bring home.
Your 400mm habit leaves some evidence out
Checking the focal lengths in your photo library is worth doing. If almost every successful wildlife frame sits at 400mm, you have a sound reason to try a prime.
Look at how you made those photographs as well. Spending two hours beside a known perch creates a different need from walking a woodland trail where animals appear at changing distances.
A fixed view can work beautifully when you choose your position and wait. On a narrow path, moving back may put you behind a tree or onto unsafe ground, and approaching wildlife to fix your framing can disturb it.
Your library also leaves out the animal whose head filled the viewfinder before you could shoot. It cannot count the pair that moved together and suddenly needed a wider frame.
Wildlife photographer Nick Dale described losing the framing of two lionesses when they rose onto their hind legs while he was using a 600mm lens. An occasional shorter focal length can matter far more than its share of your saved files suggests.
You may use 400mm for nearly a whole outing and still value the few seconds spent at 200mm. A zoom also lets you keep an animal’s surroundings in the frame, which can say more about the encounter than another tight portrait.
Close focus is a separate advantage
Wider framing and closer focusing solve different problems. Turning a zoom ring can fit a nearby animal into the frame, while a short minimum focus distance lets the lens focus on it at all.
The Nikon Z 400mm f/4.5 focuses down to 2.5m. The Z 100-400mm reaches about 0.98m, which creates very different options when a small subject appears close to your boots.
The older Canon pairing has a similarly large gap. The EF 400mm f/5.6L needs about 3.5m, compared with roughly 0.98m for the EF 100-400mm II.
Check maximum magnification alongside minimum focus distance if small trail subjects matter to you. A lens that handles a nearby frog well may earn its place even when distant birds account for most of your photographs, although low light can pull the decision back toward a prime.
What extra aperture buys on the trail
The Nikon f/4.5 prime gives you roughly two-thirds of a stop over f/5.6. At the same shutter speed, that can bring ISO 3200 down to about ISO 2000.
You can spend the same gain on shutter speed. An exposure around 1/640 second at f/5.6 becomes roughly 1/1000 second at f/4.5 with the same ISO, which can help when a perched bird starts moving.
That margin can help in dim woodland, especially if you repeatedly reach your highest comfortable ISO. Judge its value against photographs from the light you actually work in.
The Canon EF f/5.6 pairing gives you the same maximum aperture at 400mm, so that prime leaves your available shutter speeds unchanged. Any low-light benefit needs to come from another part of the setup.
Autofocus needs its own test
A wider maximum aperture can give the focusing system more light to work with in dim conditions. The result also depends on the camera body and the lens’s focus drive, so you need to test the exact combination.
The field experiences described here offer a limited basis for comparing autofocus across current matched pairs. I would want to try both lenses on my own body before paying for an expected gain in tracking.
Dennstedt praised the autofocus speed of his older Canon 400mm f/5.6L, even though it lacks lens stabilization. He valued the 100-400mm II’s stabilization when handholding static subjects.
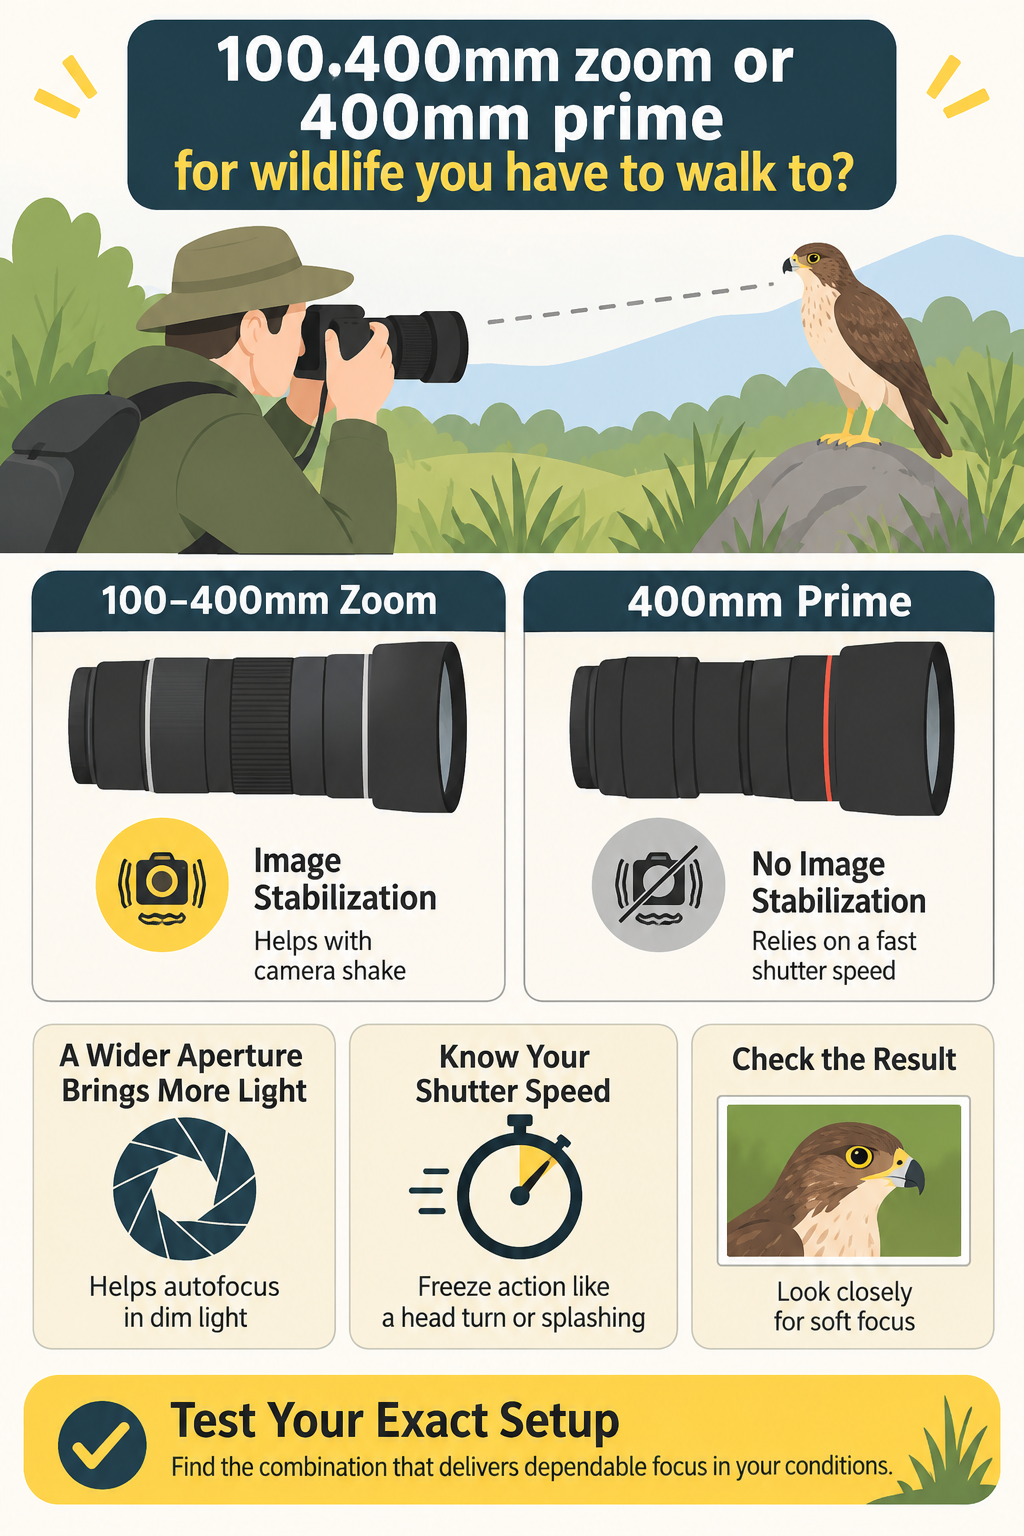
These features help with different causes of blur. Stabilization reduces the effect of camera movement, while an animal that turns its head during a slow exposure can still come out blurred.
For a still owl, stabilization may let you use a slower shutter speed successfully. For a bird shaking water from its feathers, the shutter speed needed to freeze that movement becomes the more pressing limit.
Record the shutter speed needed for your subjects, then see which setup gives you dependable focus at that speed in your normal light. When the photographs still look soft, a closer look at the blur can help you work out what went wrong.
Check what made the photograph soft
Before paying for a sharpness upgrade, inspect a run of disappointing photographs. Look for a sharp branch beside a soft bird, or blur that changes direction across a burst.
The first can point toward misplaced focus. The second may reveal movement during the exposure, and either problem can survive an expensive lens purchase.
Distant subjects add another difficulty because warm, moving air can soften fine detail. If a bird across a sunlit field looks unstable in magnified live view, a sharper lens will still be looking through that air.
Heavy cropping also deserves a look. When a tiny subject occupies a small part of the frame, the final photograph asks a great deal of every captured detail, even if the lens performs well.
Be careful with older Canon comparisons in particular. The original EF 100-400mm and the EF 100-400mm II are different generations, so an owner’s verdict about one should stay attached to that model.
Dennstedt found both his 400mm prime and the later zoom extremely sharp. His experience comes from personal use, with the limits of an uncontrolled comparison.
Judge your own files at the size you print or share. If the difference only becomes visible under extreme enlargement, give some weight to the framing options you would use on a real walk.
I would happily trade a small optical edge for a complete animal in the frame. How often you face that choice on your route is something a rental can help you find out.
Run a representative-walk test before spending
Borrow or rent the exact candidates, ideally using your own camera body. Choose a familiar route with its normal mix of waiting and walking, and use the carrying system you plan to keep.
Give each lens enough time to become tiring. A ten-minute handhold tells you little about the final uphill stretch, when you may start packing the camera away.
Keep a short note after each outing. Record how often the camera was ready and when carrying it became uncomfortable, then note the encounters lost to framing or focus.
Include nearby subjects in the test even if birds are your main interest. You want to discover the prime’s close-focus limit while you can still return it, especially if your walks regularly turn into mixed wildlife outings.
For autofocus, repeat a familiar kind of shot with the same camera settings where practical. Compare a bird moving across a clear background with one moving near branches, because a lens that feels quick in the first setting may still leave you struggling in the second.
Review the files alongside your notes. A higher keeper rate means more when the lens also stayed ready throughout the walk, and a comfortable setup earns credit for the extra chances it gave you.
Test any converter the purchase depends on
If your plan includes a teleconverter, rent that exact combination too. A 1.4× converter costs one stop of light, while a 2× costs two stops.
Check compatibility first, then assess autofocus and image quality in the conditions where you expect to use it. A combination that looks good on a bright afternoon may feel much less useful under trees.
Keep walking distance in mind as you add equipment. The converter itself may be small, but a purchase built around carrying extra options can slowly grow into the bag you were trying to avoid.
By the end of the test, you should be able to describe the benefit through photographs you made or a walk you enjoyed more. Use that experience to decide which compromises you can comfortably accept.
Buy for the limitation you can name
I would choose the 100-400mm for changing subject distances and close encounters. It also suits walks where you want both a tight wildlife portrait and a wider view that keeps the habitat visible.
I would choose a moderate-aperture 400mm prime when its particular weight or aperture advantage fixes a recurring problem. You should already feel comfortable with the fixed view, including the occasions when an animal gets too close.
A large, fast prime calls for a stronger case because its carrying demands can reshape the whole outing. If you enjoy long walks with frequent stops for whatever appears, give that freedom a real place in the decision.
If you worry that you will regret buying an expensive lens, write down the recurring limitation you expect it to solve before paying. Then check that claim against the rental results.
Keeping the camera ready for the whole route is a good outcome, as is a clear improvement in moving-subject photographs at dusk. Both deserve weight in your decision, provided you can carry the setup comfortably.
Combine your library’s preference for 400mm with what you learned from the missed encounters and the walk itself. I would buy the lens that gave me more chances I could use and still felt comfortable on the way home.
The lenses below are the specific models discussed in this article. Compare the full model name, mount, weight, and condition before choosing one—especially with the two generations of Canon’s EF 100–400mm. A lens that stays comfortable and ready throughout your walk may serve you better than one that looks ideal only on a specification sheet. These are affiliate links, and I may earn a commission if you buy through them at no extra cost to you. As an Amazon Associate I earn from qualifying purchases.

- Camera compatibility: Compatible with FX and DX format Nikon Z series mirrorless (100mm-400mm on an FX format Z camera),…
- Vibration Reduction: Achieves up to 5.5 stops of compensation*. On full-frame Z cameras like Z 5, Z 6, Z 6II, Z 7 or Z 7…
- Autofocus: Two high-speed STM stepping motors move in sync with each other in near silence for thrilling close focusing,…
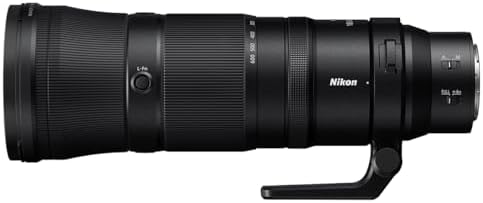
- Ease of use. At its widest setting, the NIKKOR Z 180-600 f/5.6-6.3 VR is great for locating your subject. With a mere 70…
- Handheld shooting. Built-in optical Vibration Reduction (VR) provides a stabilization effect equivalent to a shutter spe…
- Versatile close shooting. The lens features a minimum focus distance of 4.27 ft at the 180mm zoom position and a large 0…

- 100-400mm telephoto zoom lens with f/4.5 maximum aperture for Canon SLR cameras
- 2 Image Stabilizer modes make it easy to capture far-off action or close-in portraits
- Flourite and Super UD-glass elements largely eliminate secondary spectrum